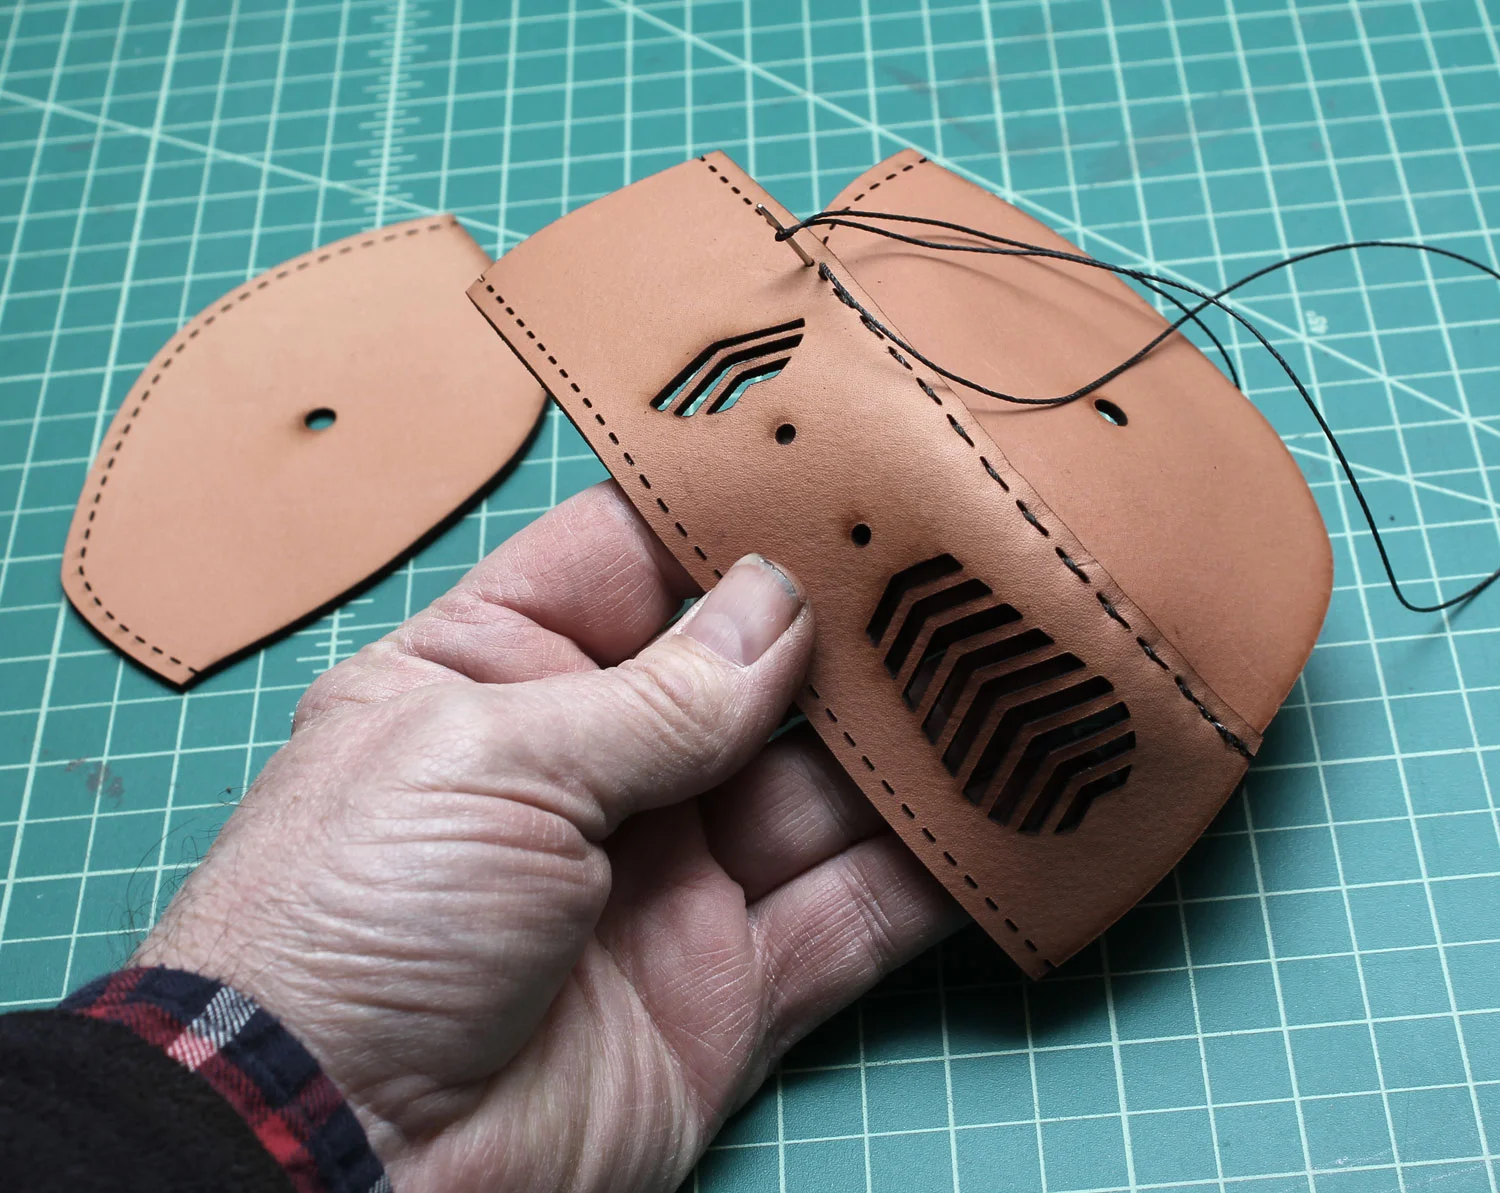
The Transmutator was stitched together using a butt stitch, and I knew I wanted to replace it with an overlapping stitch so that the mask would hold its shape better. The photo shows me handstitching the three parts together while the veg tan leather was damp.
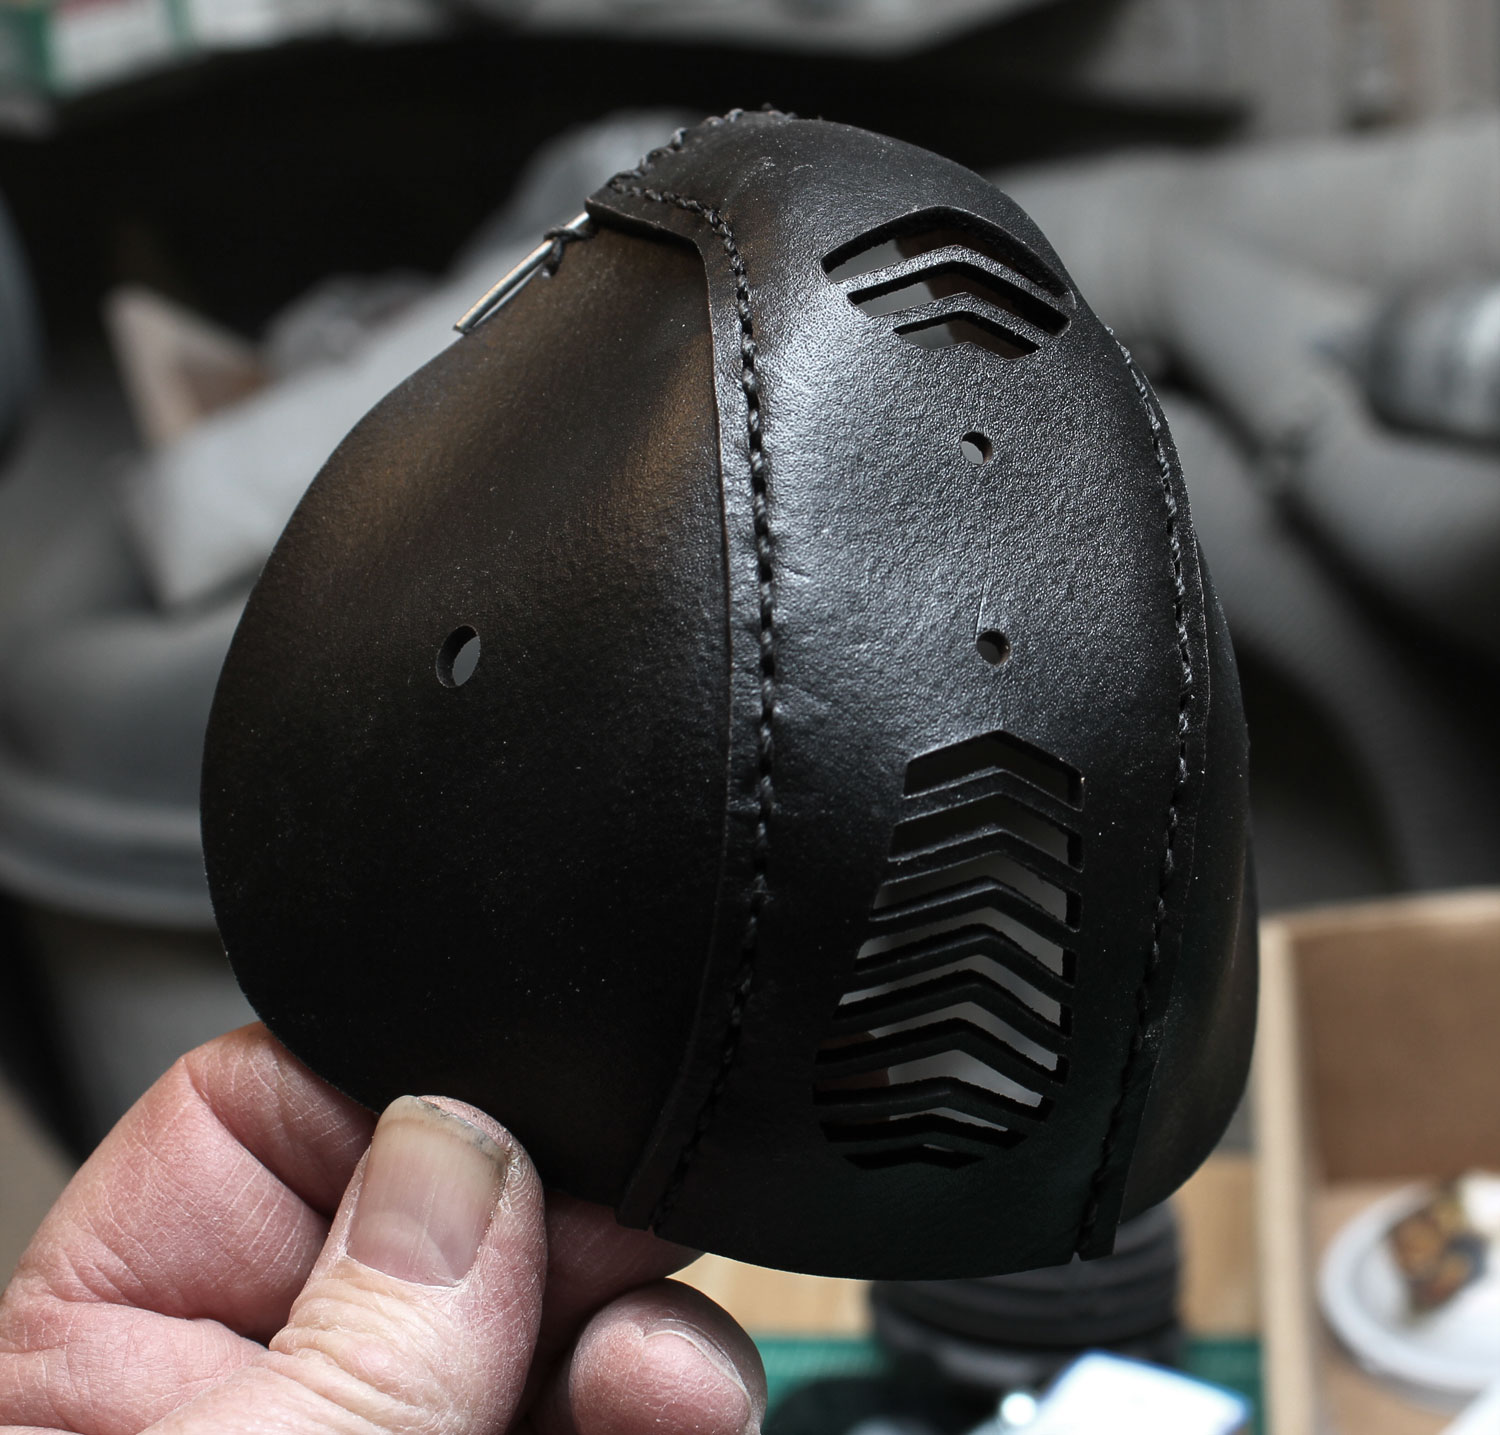
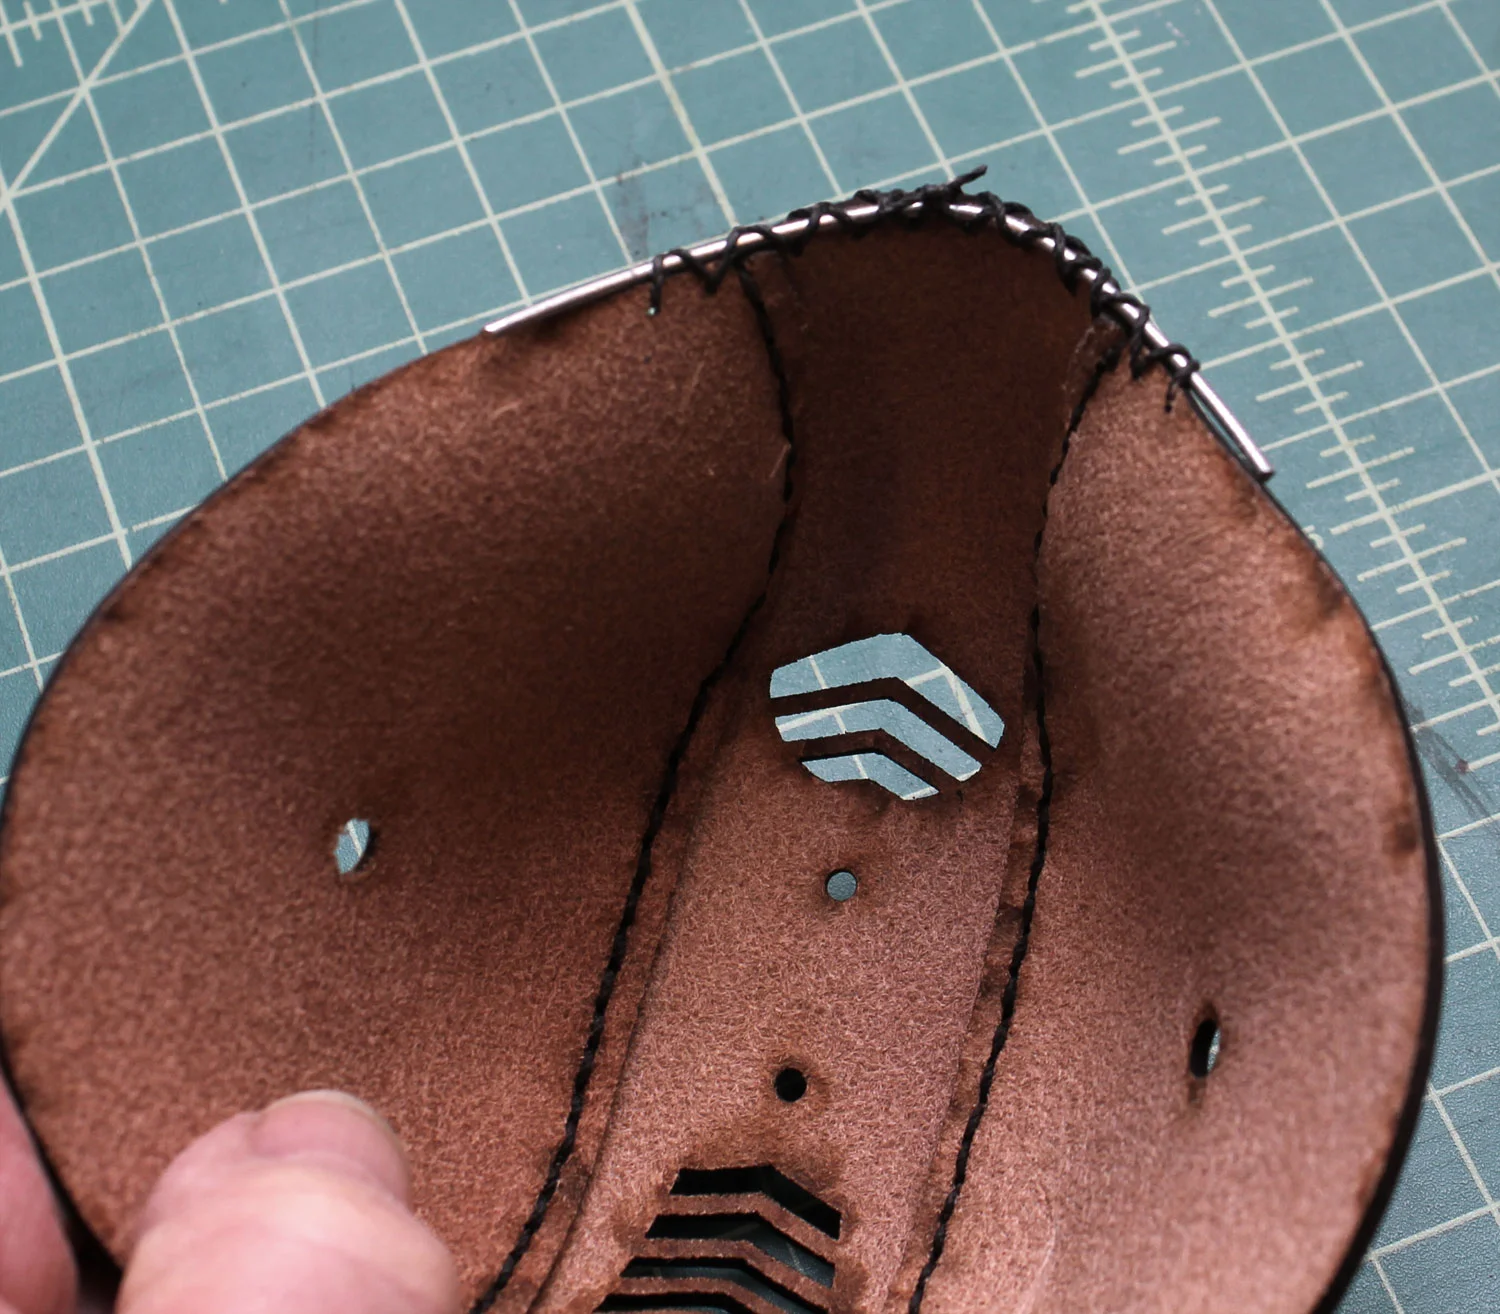
I punched some holes along the top of the mask and used waxed thread to hold on a 3" piece of steel wire. The wire will allow the mask to be shaped around the nose, to get a good, comfortable fit. The photo shows the inside, unpainted part of the mask. Next I used my Cobra free-arm sewing machine to sew on a strip of black deerskin to bind the edge, and cover up the wire.
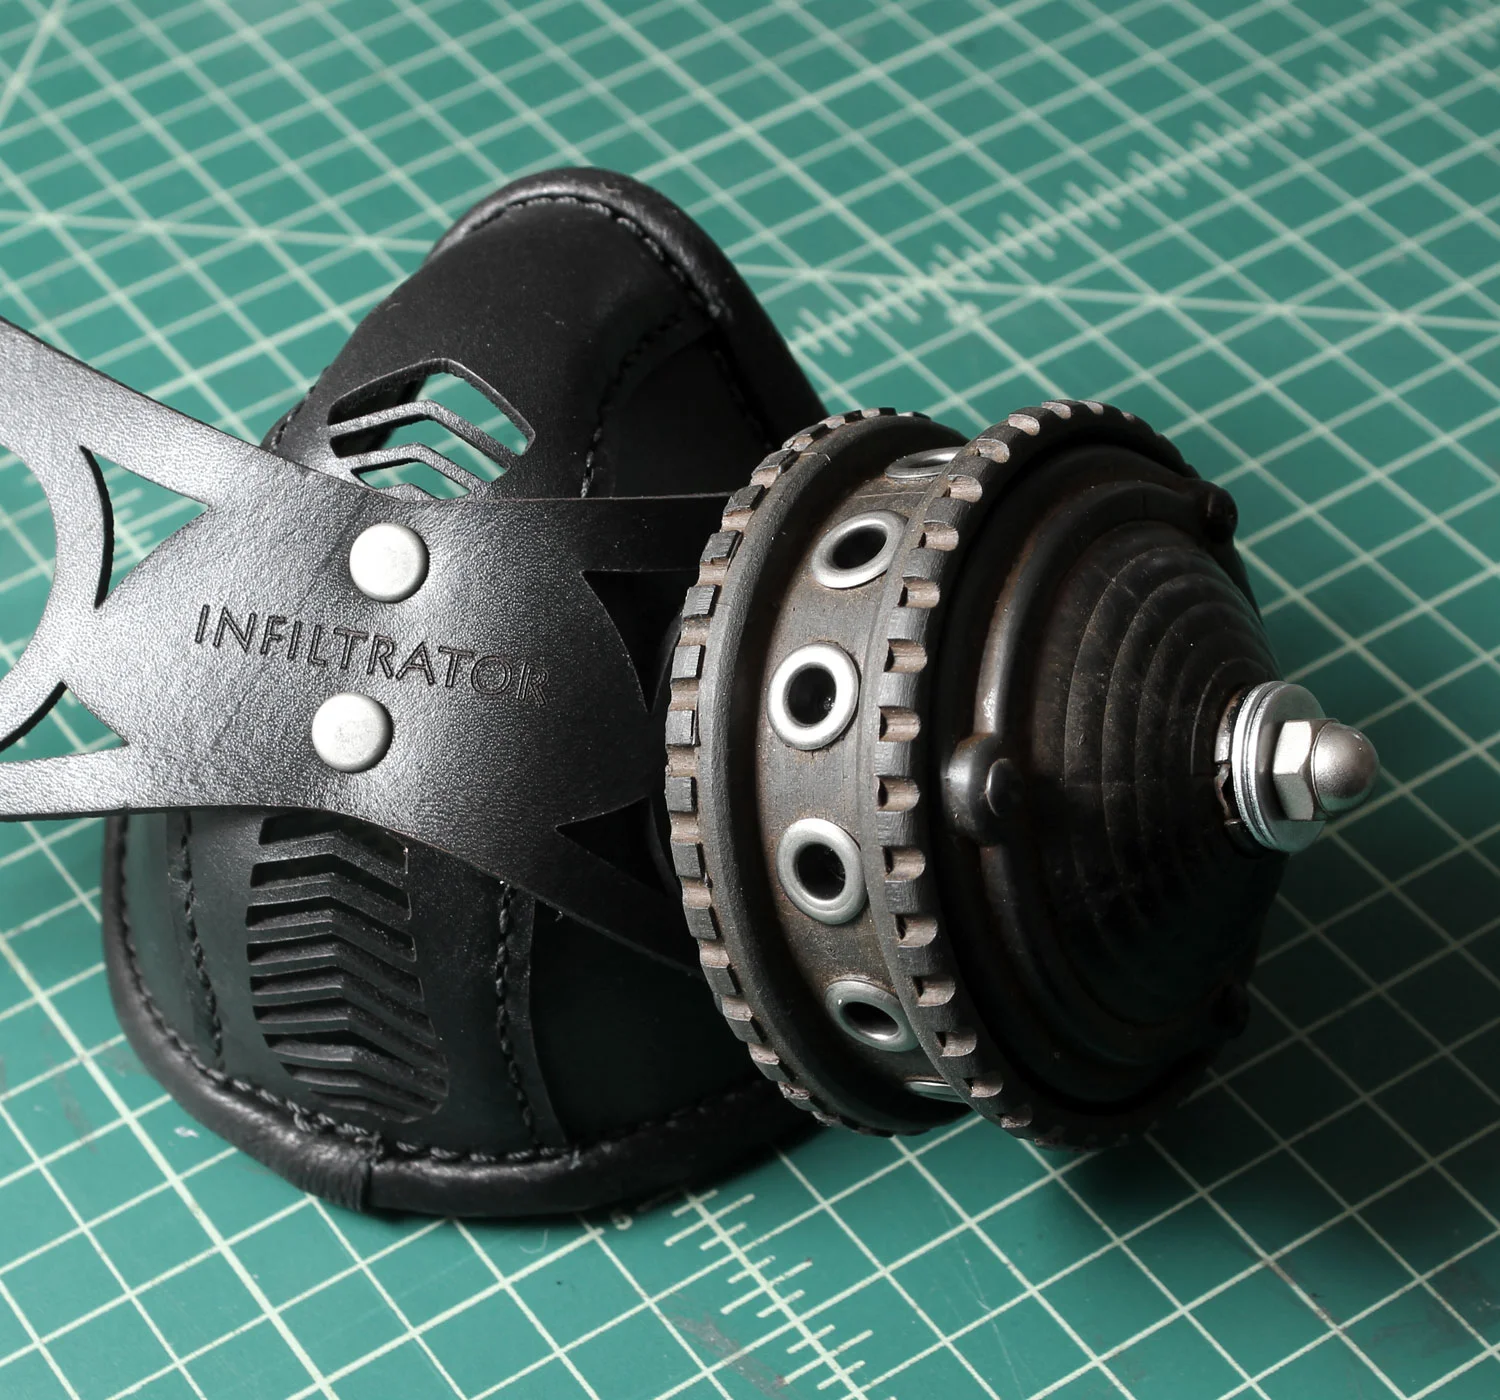
Here is a photo of everything together that I have so far. The wide front strap was riveted onto the mask, and there will be two straps that go around the back of the head.
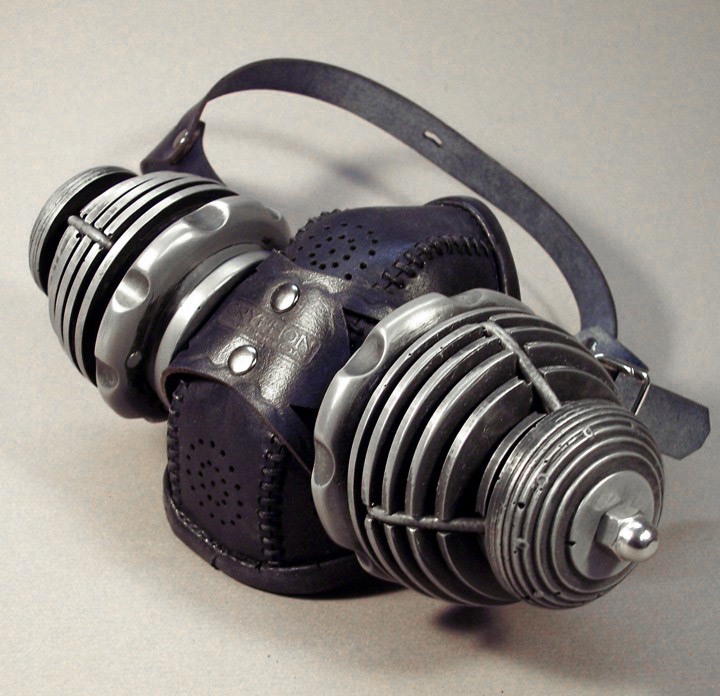
While working on the canisters I also started on the leather mask itself. I decided to base the Infiltrator Respirator on the same pattern that I'd used several years ago on the Bad Air Transmutator, shown at left. It was one of my very first steampunk masks.
I also altered the breathing holes, and extended the sides of the mask out further along the jawline.
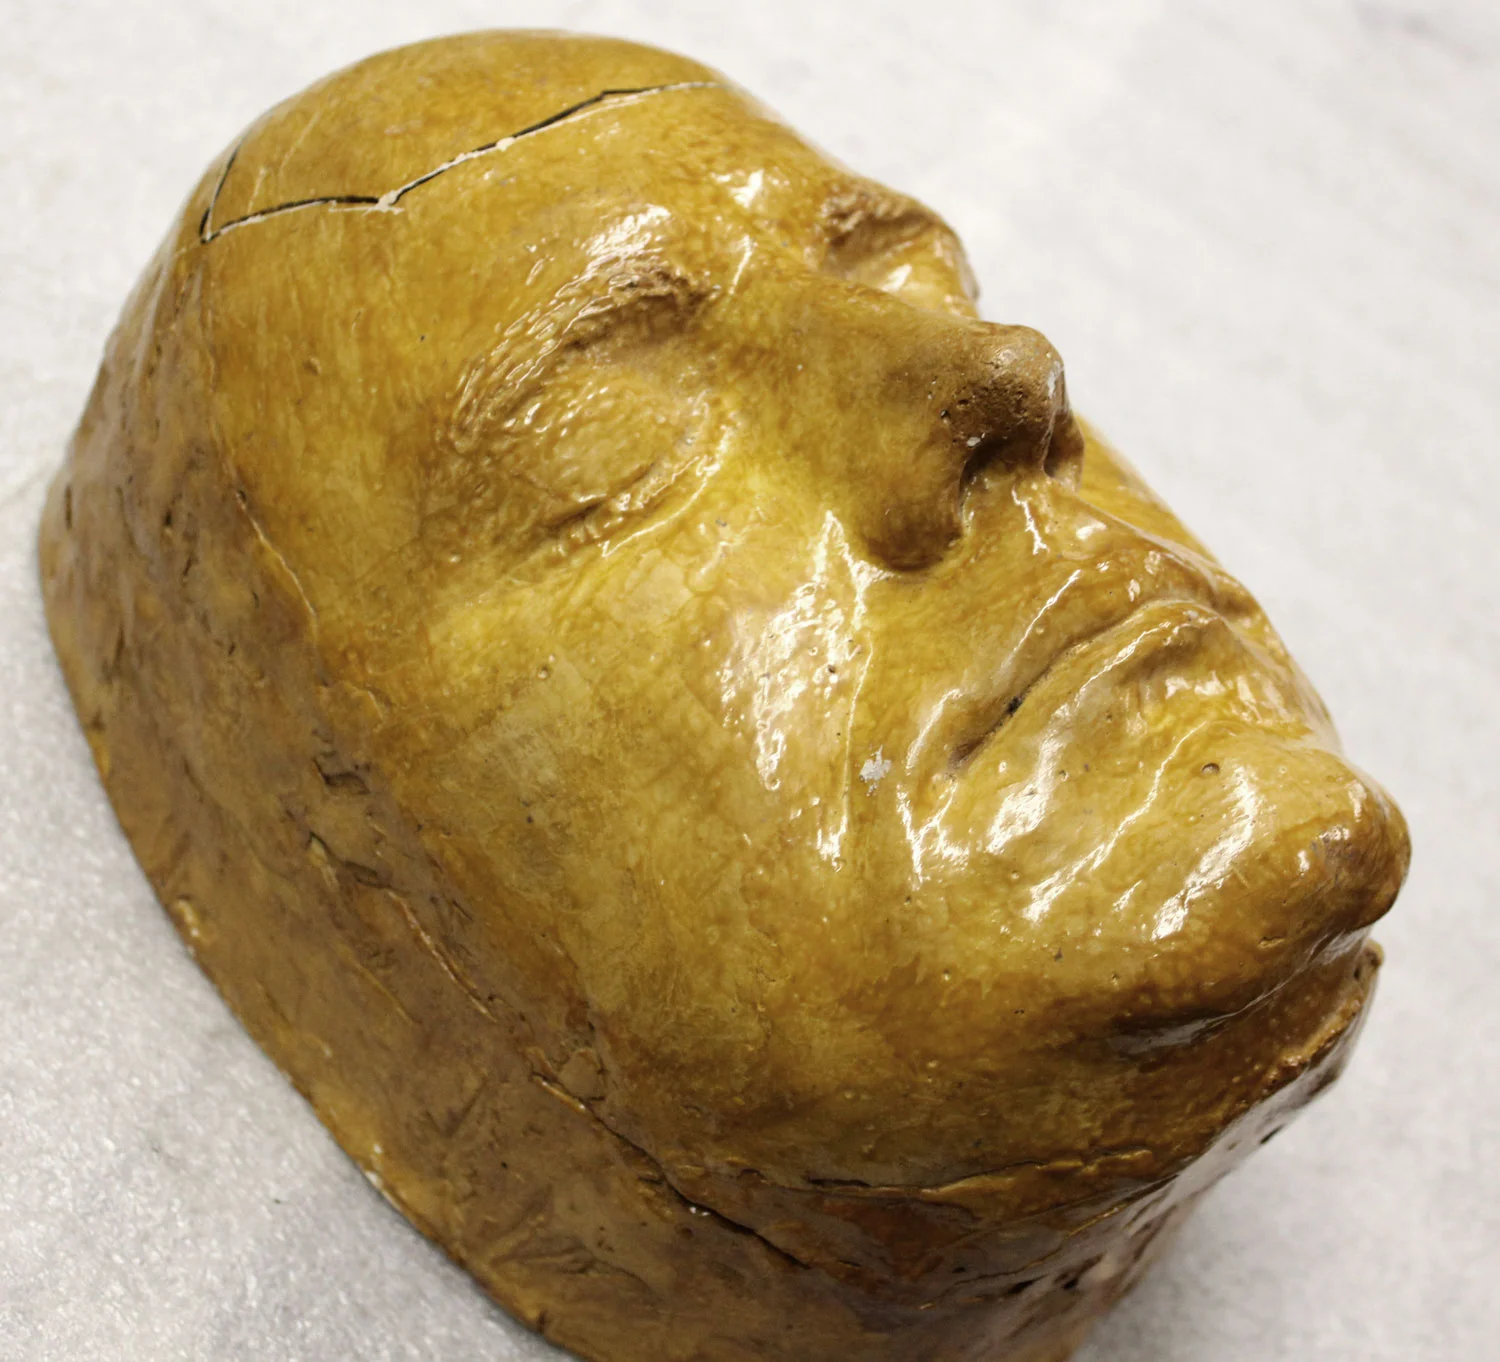
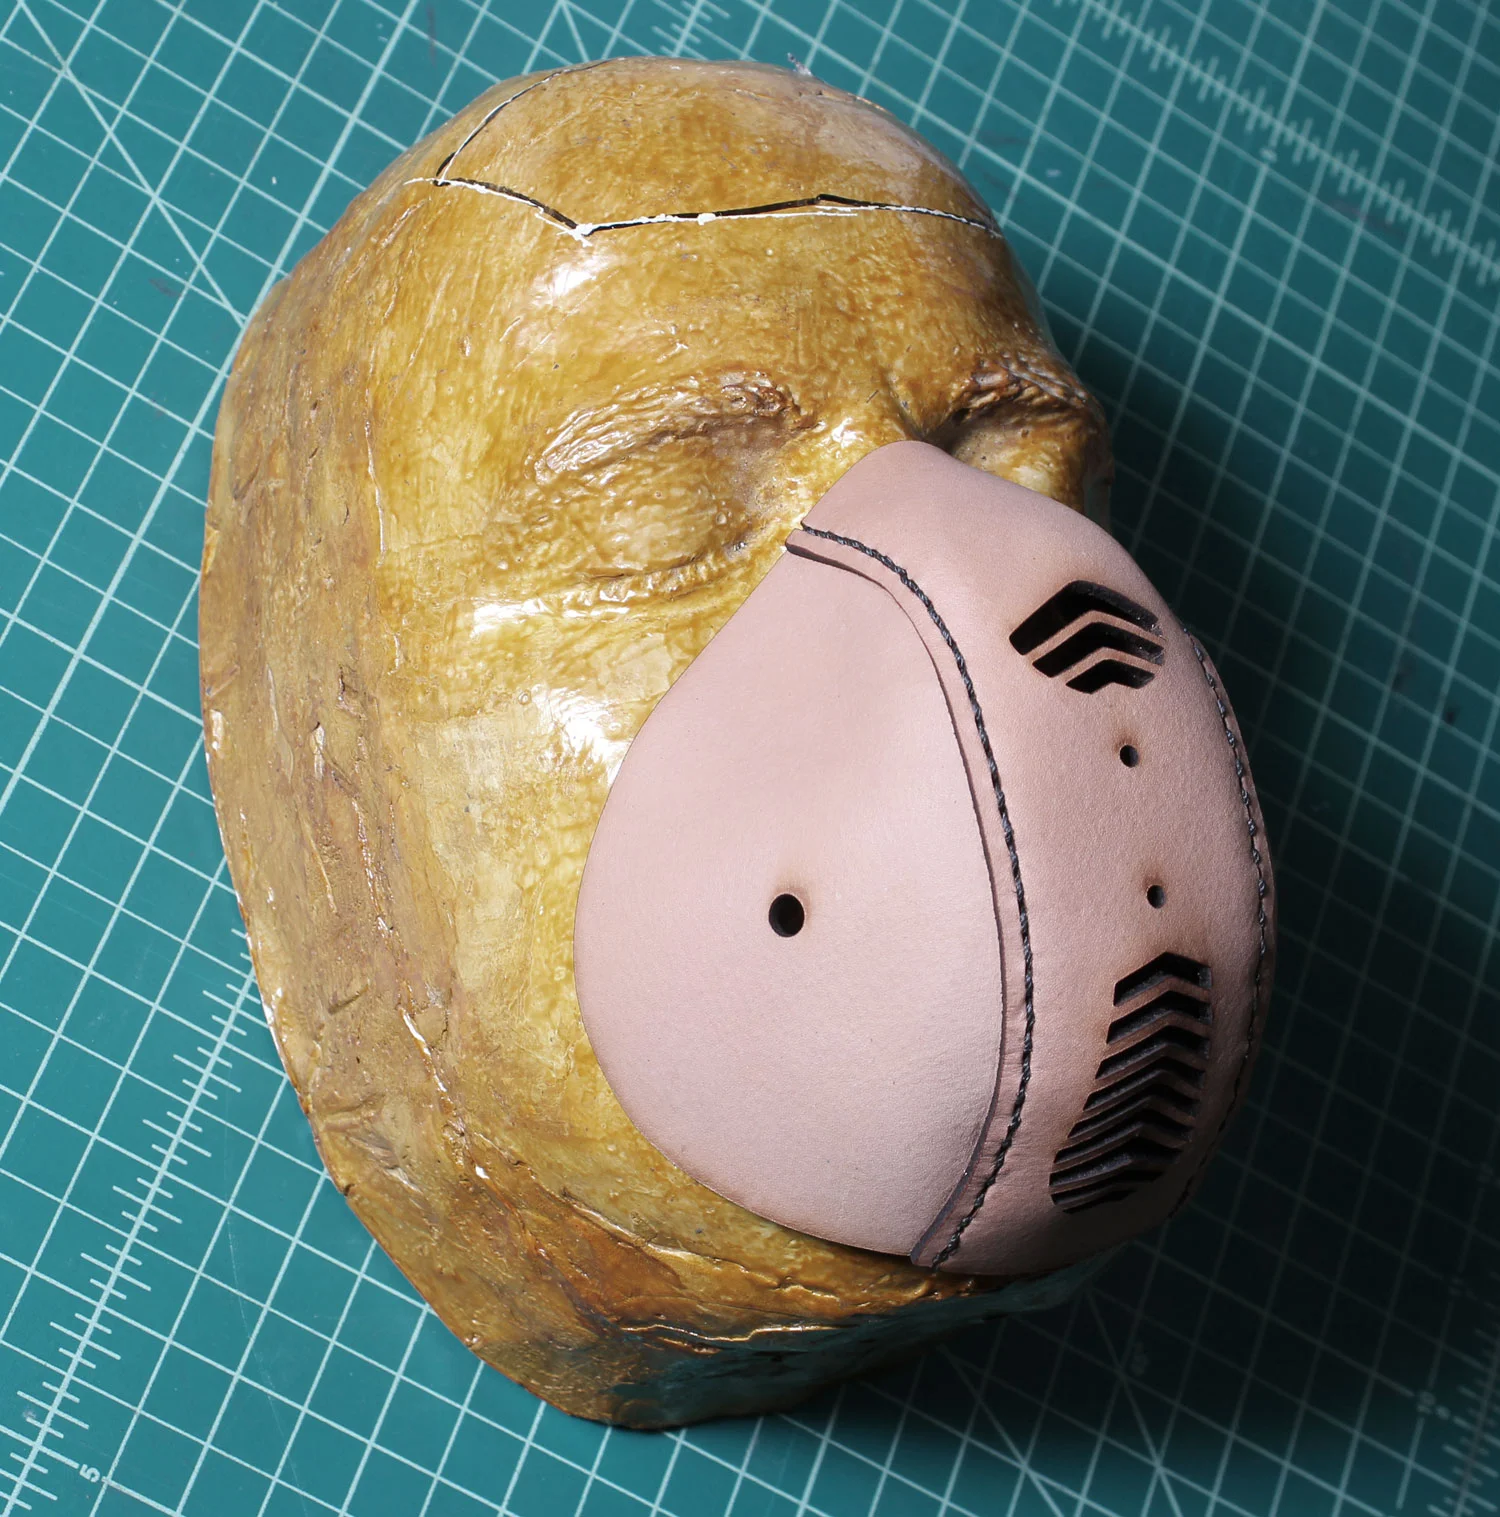
Once the stitching was done I shaped the mask to fit a face by placing it on my plaster lifecast headform and making it conform. I left it there overnight until it was dry.
Next day I painted the leather mask black, using an airbrush and latex acrylic paint thinned down enough with water so that it would spray easily.
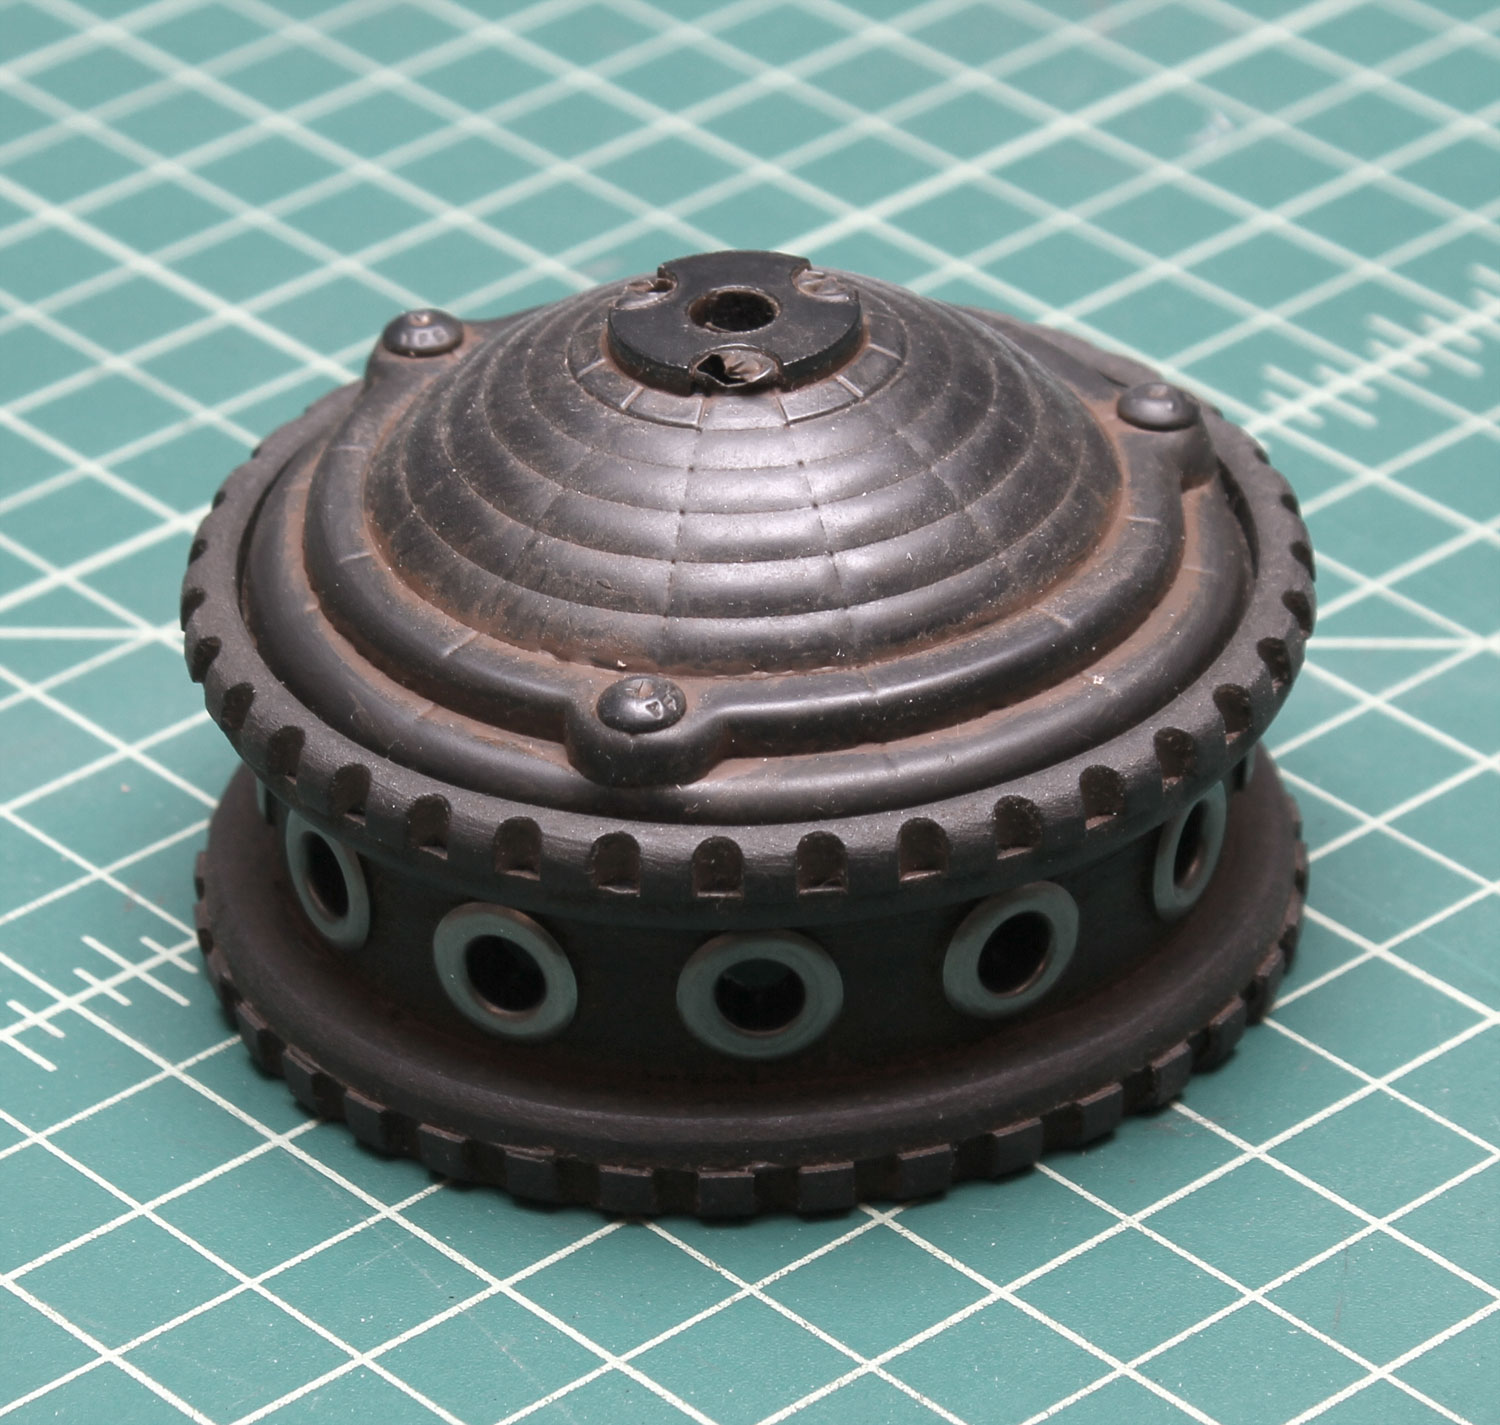
Meanwhile, on the canister I added castellations (those little notches) around the top and bottom of the center section, to make it more interesting and detailed. That required making a new rubber mold. After casting the new part I antiqued the respirator parts with a brown stain.